It was Oscar Wilde who bemoaned the state of his wallpaper, declaring that in order for him or it to go, a ‘duel to the death’ would need to be fought.
A tad extreme perhaps when it comes to decorating, but many of us look at the job with dread when it comes to preparing a room for wallpaper.
Don’t put it off any more though as it’s not as frightening a prospect as you imagine. It’s allabout good preparation which is thorough and not rushed. Here’s a step by step guide to ensure your walls are ready for the patterns, flowers, animals or retro anaglypta bubble-covered rolls of paper set to be pasted around the room.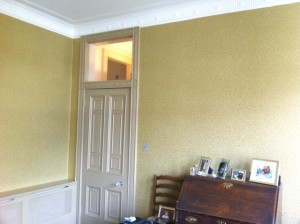
Why it’s important to prepare the walls
Your carefully chosen and beautifully designed wallpaper won’t fully adhere to dirty, greasy walls or those covered with layers of old wallpaper or chipped paint so it’s important to prepare them so the result isn’t a combination of air pockets, slipping paper or badly matching patterns.
Fill the holes
Over the years, your walls can take a bit of a hammering, especially with nails and screws  being inserted to hang paintings which can lead to surrounding areas cracking and chipping. You may also remove the old wallpaper to find hairline cracks in the surface. These all need filling otherwise you’ll see them through the new paper and you’ll only be storing up problems for the future. Use a vinyl compound and a broad knife and thoroughly push it into the holes and cracks. After it’s completely dry, sand until smooth.
Previously painted walls
If the wall was painted in the past, your paper won’t hang properly on it as it will be too shiny, even if a matte finish was used. If the paint is 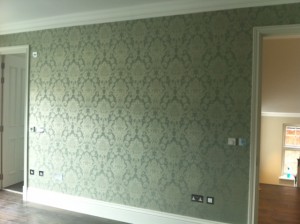 old and flaking, it will need scraping and then sanding to a smooth finish. Finish this stage by washing with an all-purpose cleaner and allow to dry. It’s then time to add the primer. Don’t skimp on this stage as any paint chips will show through the new layer.
The nightmare of textured walls
If you are facing walls which at some point in their past were covered with a textured finish, it’s a given that it needs removing in some way before adding wallpaper. There are a number of choices:
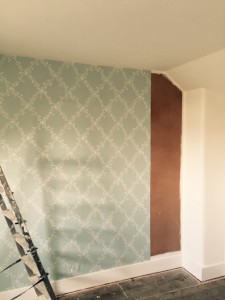 Trowel joint compound across the wall in a number of light and even coats until smooth
- Sanding is the solution if you’re looking at a huge expanse to remove; it’s the quickest way to remove the rough surface but creates the most mess with the dust which will float everywhere
- Lining paper; fill any cracks and lightly sand the wall. Prime with a sealer and hang lining paper
Prime importance
After you’ve carried out some or all of the above, you’ll need to seal the walls. This will give you an easier surface to slide the paper onto. Primers and sealers are available as a one-step product and they also act to stop excess moisture entering the wall when you place the pasted paper onto it 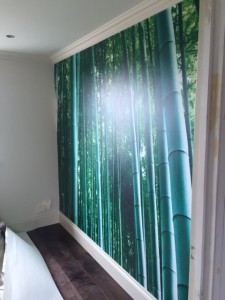 and in turn reducing the risk of any cracks in the surface in the future. Acrylic primers are the best choice if you want the assurance of one product doing the job in one hit. Primer also covers old paint which means it won’t chip and flake as you work. Once primed, the walls will have a coating which will ensure great walls. Even if you hang lining paper, add a coat of primer to give a completely slip-free surface. If you’re moving to a brand new house and have walls which have never been painted or had wallpaper on them in the past, or you’re at the stage of decorating a newly built extension, you’ll still need to prime the walls. Taking the time to add this step to the newest of walls means that you can then easily strip the paper in years to come.
Still unconvinced? Talk to those who take it in their stride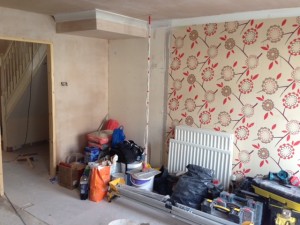
Even after reading this guide, if the thought of preparing a room to the stage of being ready for wallpaper is leading to sleepless nights, then it’s time to let the professionals take over and save the day. Talk to an expert team of painters and decorators who will have the job completed in no time. They will be able to take the project from start to finish, including removing the old paper if you need this tackling. You’ll soon be relaxing in the room with a cup of tea looking at the beautifully matched patterns along superbly smooth walls and you’ll know that Oscar Wilde really should have done the same to save himself so much stress.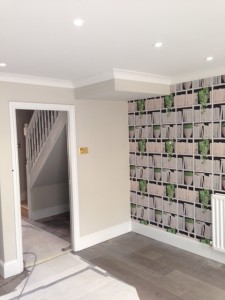




 Please click below if you have a Google account and help us spread the word: